Tagging & Preparing Your I tems
Getting Started:
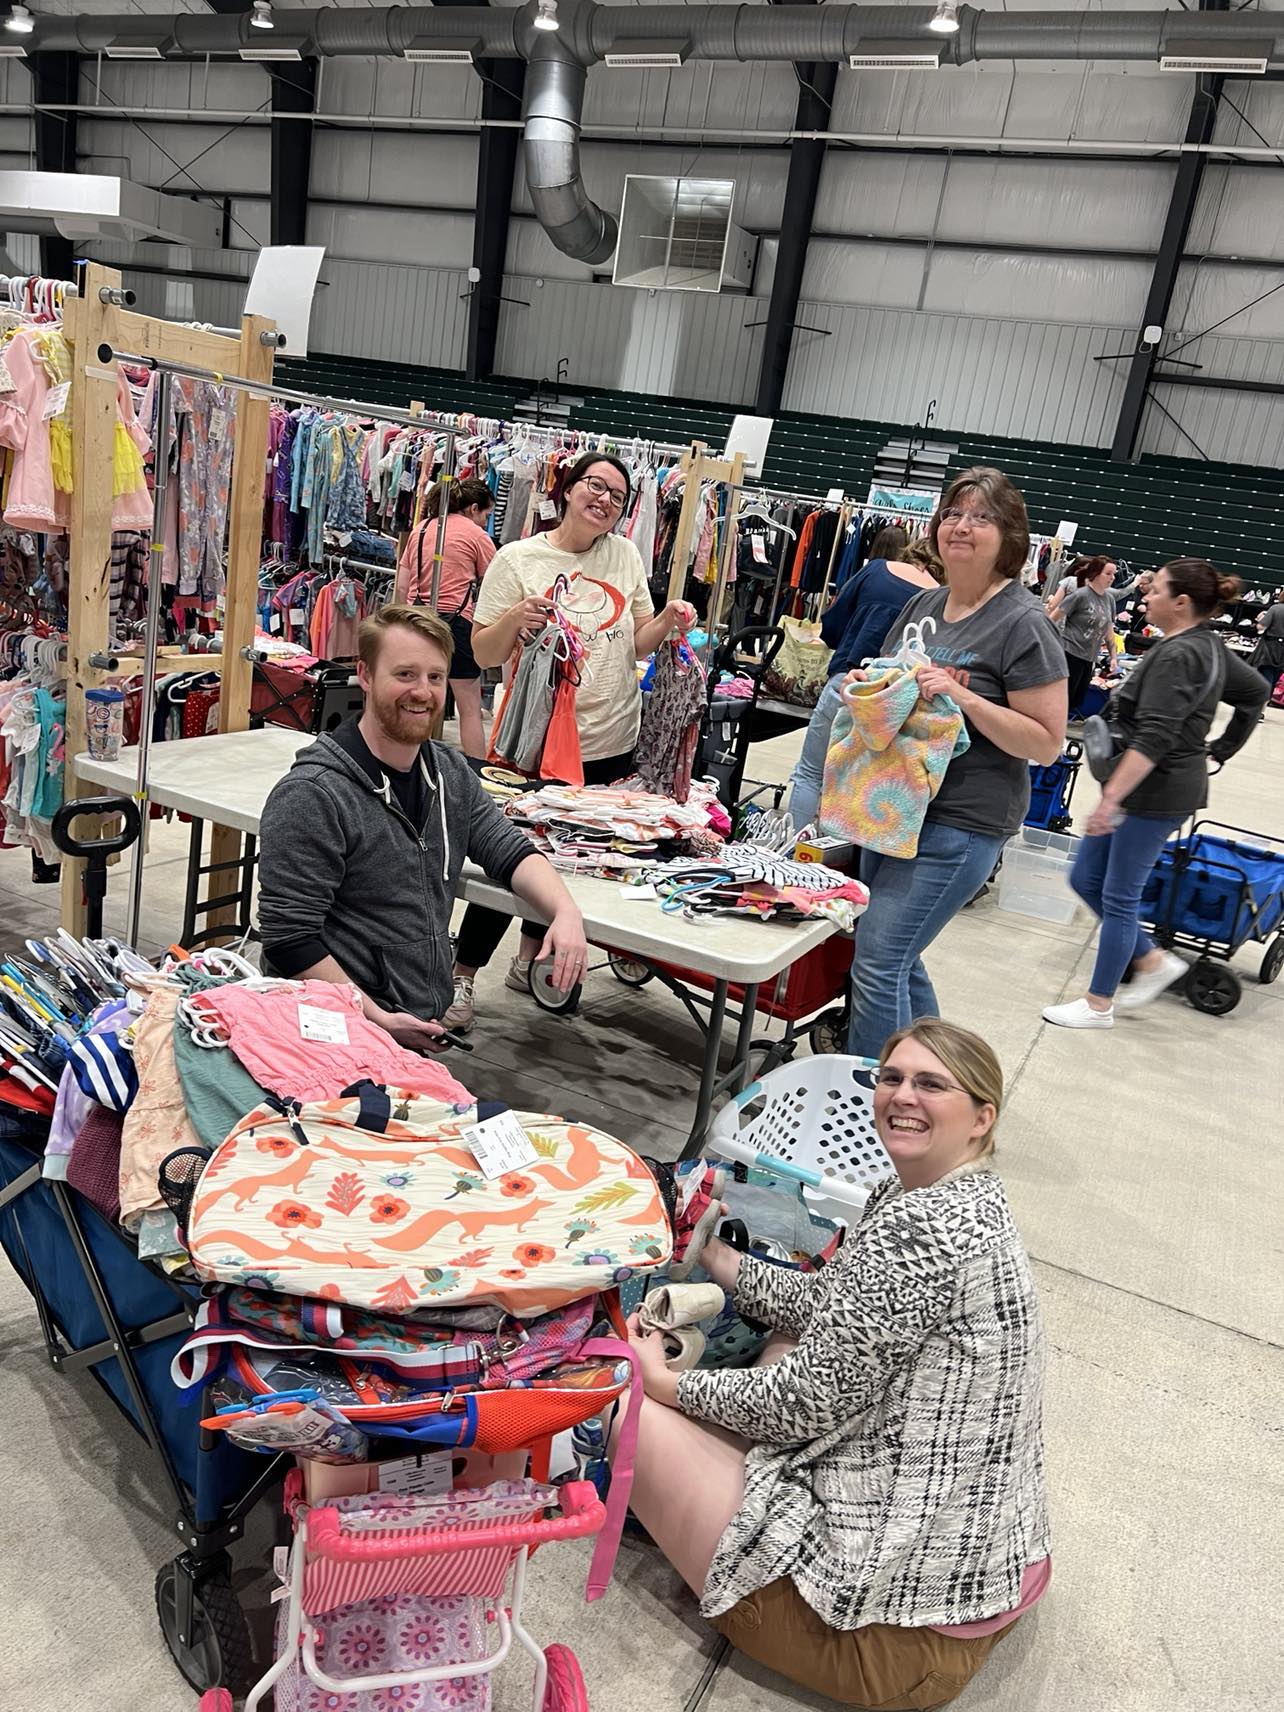
How well your items are prepared is directly indicative of how well they will sell. Please inspect every single item for staining, general wear and tear, malfunctions, etc. We recommend that you start as early as possible—sorting, entering, and tagging your items will take time, so give yourself plenty of it to avoid unneeded stress.
Each consignor is able to enter a MAX of 400 inventory items into the sale.
For infant/toddler sizes 0 to 24 months, there is a MAX of 50 inventory items per gender. Consider bundling multiple items together as one inventory item.
There is a MAX of 20 items for women’s and juniors items. Only bring your best!
IMPORTANT:
All items must be entered into the system by 10:00 PM on Wednesday, March 5. After that time, you may still PRINT tags, but you will be unable to edit or enter additional items into the system.
Follow these Steps to enter your inventory:
- Register as a consignor here.
- Soon after registering, you will receive our comprehensive Consignor Guide with tips and suggestions for making the most of your experience. We recommend reading through the guide in its entirety before entering your items into the system.
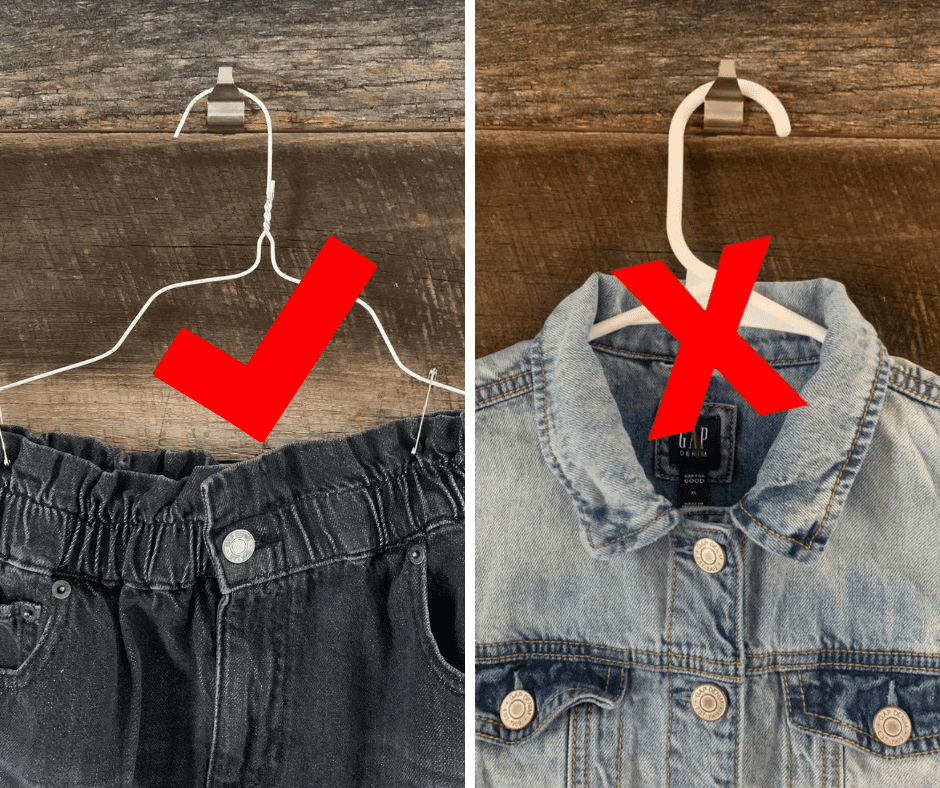
- Hang and organize your clothing by gender and size. This will make item entry move much faster. All items must be hung so that the hanger makes a ? with the item facing you. All items must be in size order at the time of drop off.
- Log into your Consignor Portal from the Little Bird Lane website using your consignor number and password.
- Select “Menu,” and then click the “Work with Consigned Inventory” link.
- Select “Add Items” and your method of entry (mobile/PC/voice entry). Click “Add New Item” and select the accurate Category & Size for your item. Failure to use the accurate Category & Size options will make picking up unsold items very difficult for you later on, so it’s important to enter them correctly to start. Use lines 1 & 2 to enter a detailed description so that your item can be appropriately matched to the tag should the tag fall off during the sale.
- Price your item as LOW as you are comfortable selling it for! The minimum price for each item is $3.00, and you may price in $.50 increments.
- The “Quantity” section should always remain at 1 unless you are wanting to produce multiple tags with the exact same price & description. (For example, if you have 4 copies of the same Harry Potter book, you can put 4 in the Quantity box and it will generate 4 tags with different inventory item numbers.)
- Click the box if you would like to discount the item during the 1/2 Price shopping hours at the end of the sale. (We recommend discounting ALL items, especially clothing, books, & shoes, as it drastically increases your chances of selling them!)
- Click the box if you would like us to donate your item after the sale if it does not sell. We encourage our consignors to donate unsold items because we enjoy a very high sell through rate at the sale. If your item is shopped by thousands of people and does not sell, you can bless another family in our community by donating it to one of the many organizations we work with.
- Click “Submit” and move to your next item.
- Print your tags on white or light colored cardstock. (Avoid printing on regular printer paper because tags will be bent, torn, and ripped off of items, making them unable to be sold at the sale. Please do not change the size of the tags when printing.
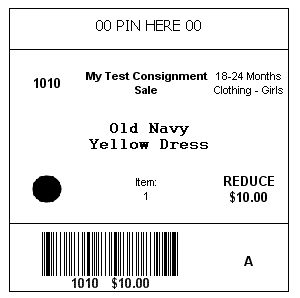
To print tags, click on, “Work with Consigned Inventory,” and then “Print Tags.” Choose to “Print Selected Tags” or “Print All Tags (PDF).” Once printed, tags will look like the tag to the left. - See below for specific tagging instructions based on category.
Supplies Needed for Tagging:
- White or light colored cardstock (Please do NOT use regular printer paper or dark cardstock.)
- Scissors and/or Paper Cutter
- Hangers (We are not picky about hangers, but they do need to have a standard sized hook to fit our clothing racks, and if your item is too large and falls off of a children’s sized hanger, your item needs to be on a larger hanger.)
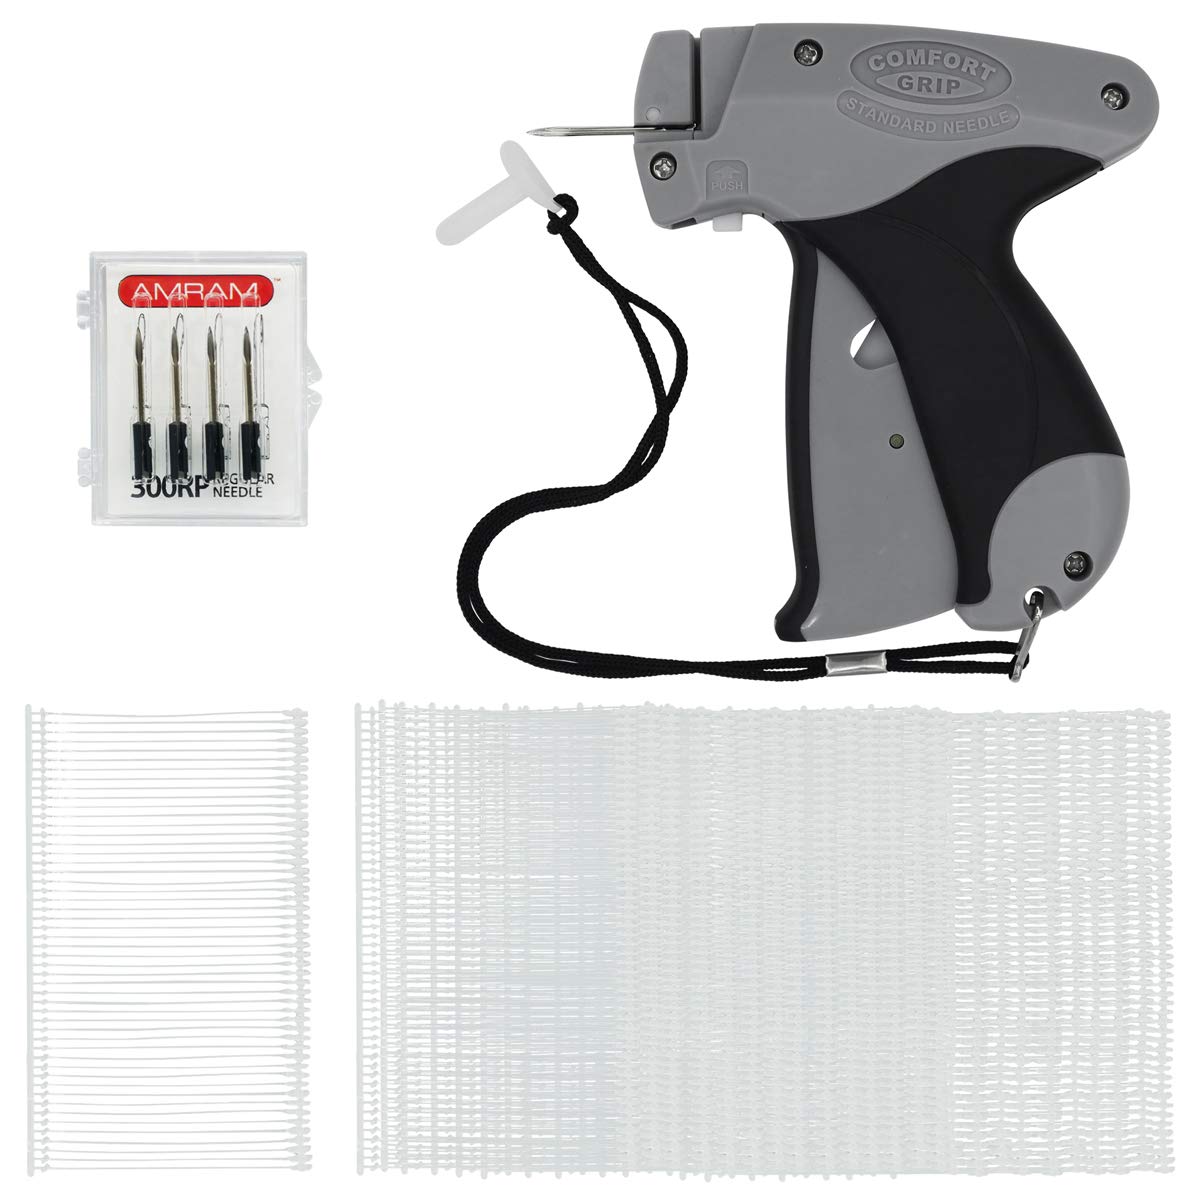
- Tagging Gun or Safety Pins (NOTE: Clothespins and straight pins are not an accepted option for attaching clothing to hangers or for attaching tags to clothing!)
- Clear Packing Tape & Painters Tape
- Ziploc Bags (various sizes, depending upon what you are selling)
- Plastic Wrap-optional (good for wrapping puzzles)
- Zipties-optional (good for pairing shoes & connecting toys with multiple pieces)
- Batteries
Item Preparation:
CLOTHING:
All clothing should be freshly laundered, wrinkle free, and on a hanger. We do not accept clothing in Ziploc baggies.
Items MUST be hung so that the hanger forms a question mark when the clothing is facing you. (See image.)
Plastic or wire hangers should be used for clothing items. Hangers should be the appropriate size for the item, meaning children’s sized hangers should not be used on items that will fall off of the small hanger.
When hanging pants, shorts, or skirts, safety pin them to the TOP of the hanger, not the bottom rung, so they do not slide. (See image.)
Staples, straight pins, clothespins, and tape are strictly prohibited for attaching tags to clothing or clothing to hangers.
Bigger kids clothing should be hung on adult-sized hangers.
ALWAYS attach inventory tag to the garment tag if possible. If there is no tag, you should ONLY puncture the fabric through a seam in the LEFT armpit (right side when it’s facing you on the hanger), at the back of the neck on the seam, or at the back inside seam of a pair of pants.
WARNING: Items with puncture holes through the fabric are subject to rejection. We do not accept items with holes, so don’t make the mistake of tagging directly through the fabric…if there is a hole, your item will not be accepted.
Again, NEVER pierce directly through fabric, as it will likely cause holes and result in the item not being accepted. Always puncture through the garment tag or armpit/side seam.
If selling multiple pieces together (for example: 3 onesies sold together), each item should be on a separate hanger and all hangers should be secured together using a zip tie. Place pants and tops back-to-back so that you can see the front of both garments clearly. Never attach pants to a shirt with a tagging gun, as this will cause holes and result in the item not being accepted.
We suggest grouping multiple items or outfits together to increase their chance of selling, especially if the items are under size 2/2T.
There is a MAX of 50 inventory items per gender for clothing sized 0 to 24 months.
Please separate girls boutique items and organize all items by size and gender prior to your drop-off appointment.
SHOES:
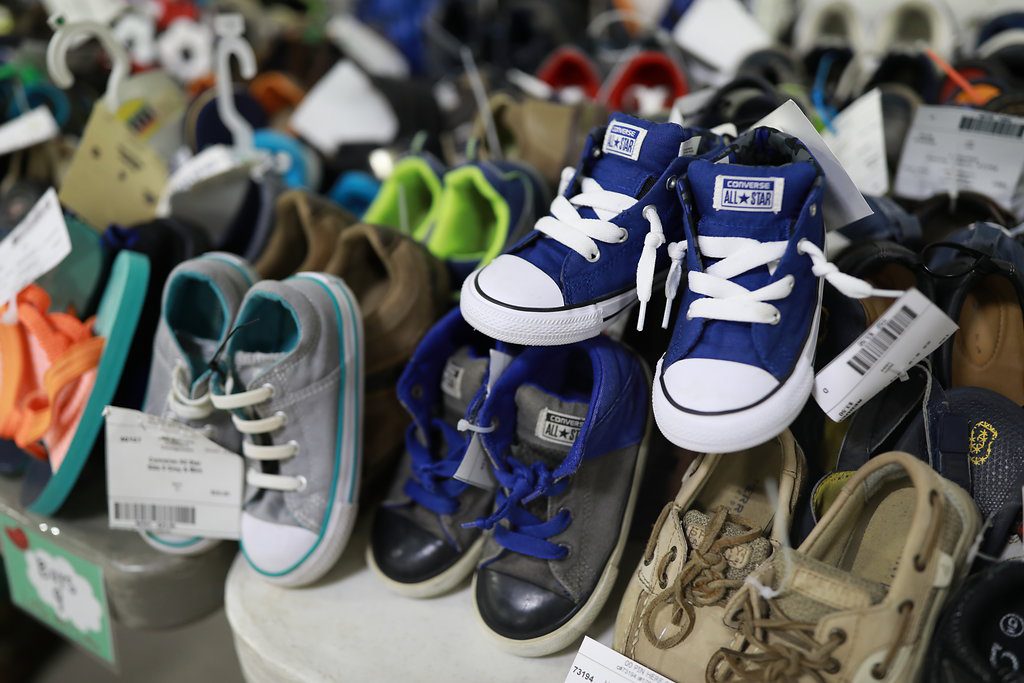
Shoes should be clean and in gently used or like new condition. If the footbeds of shoes are dirty or if there is scuffing on the toes, shoes will not be accepted.
Use zip-ties to secure shoes together.
Do your best to attach tags VERY securely, as shoes are heavily shopped and handled during the sale.
Socks are not accepted unless new in package/with tags.
TOYS:
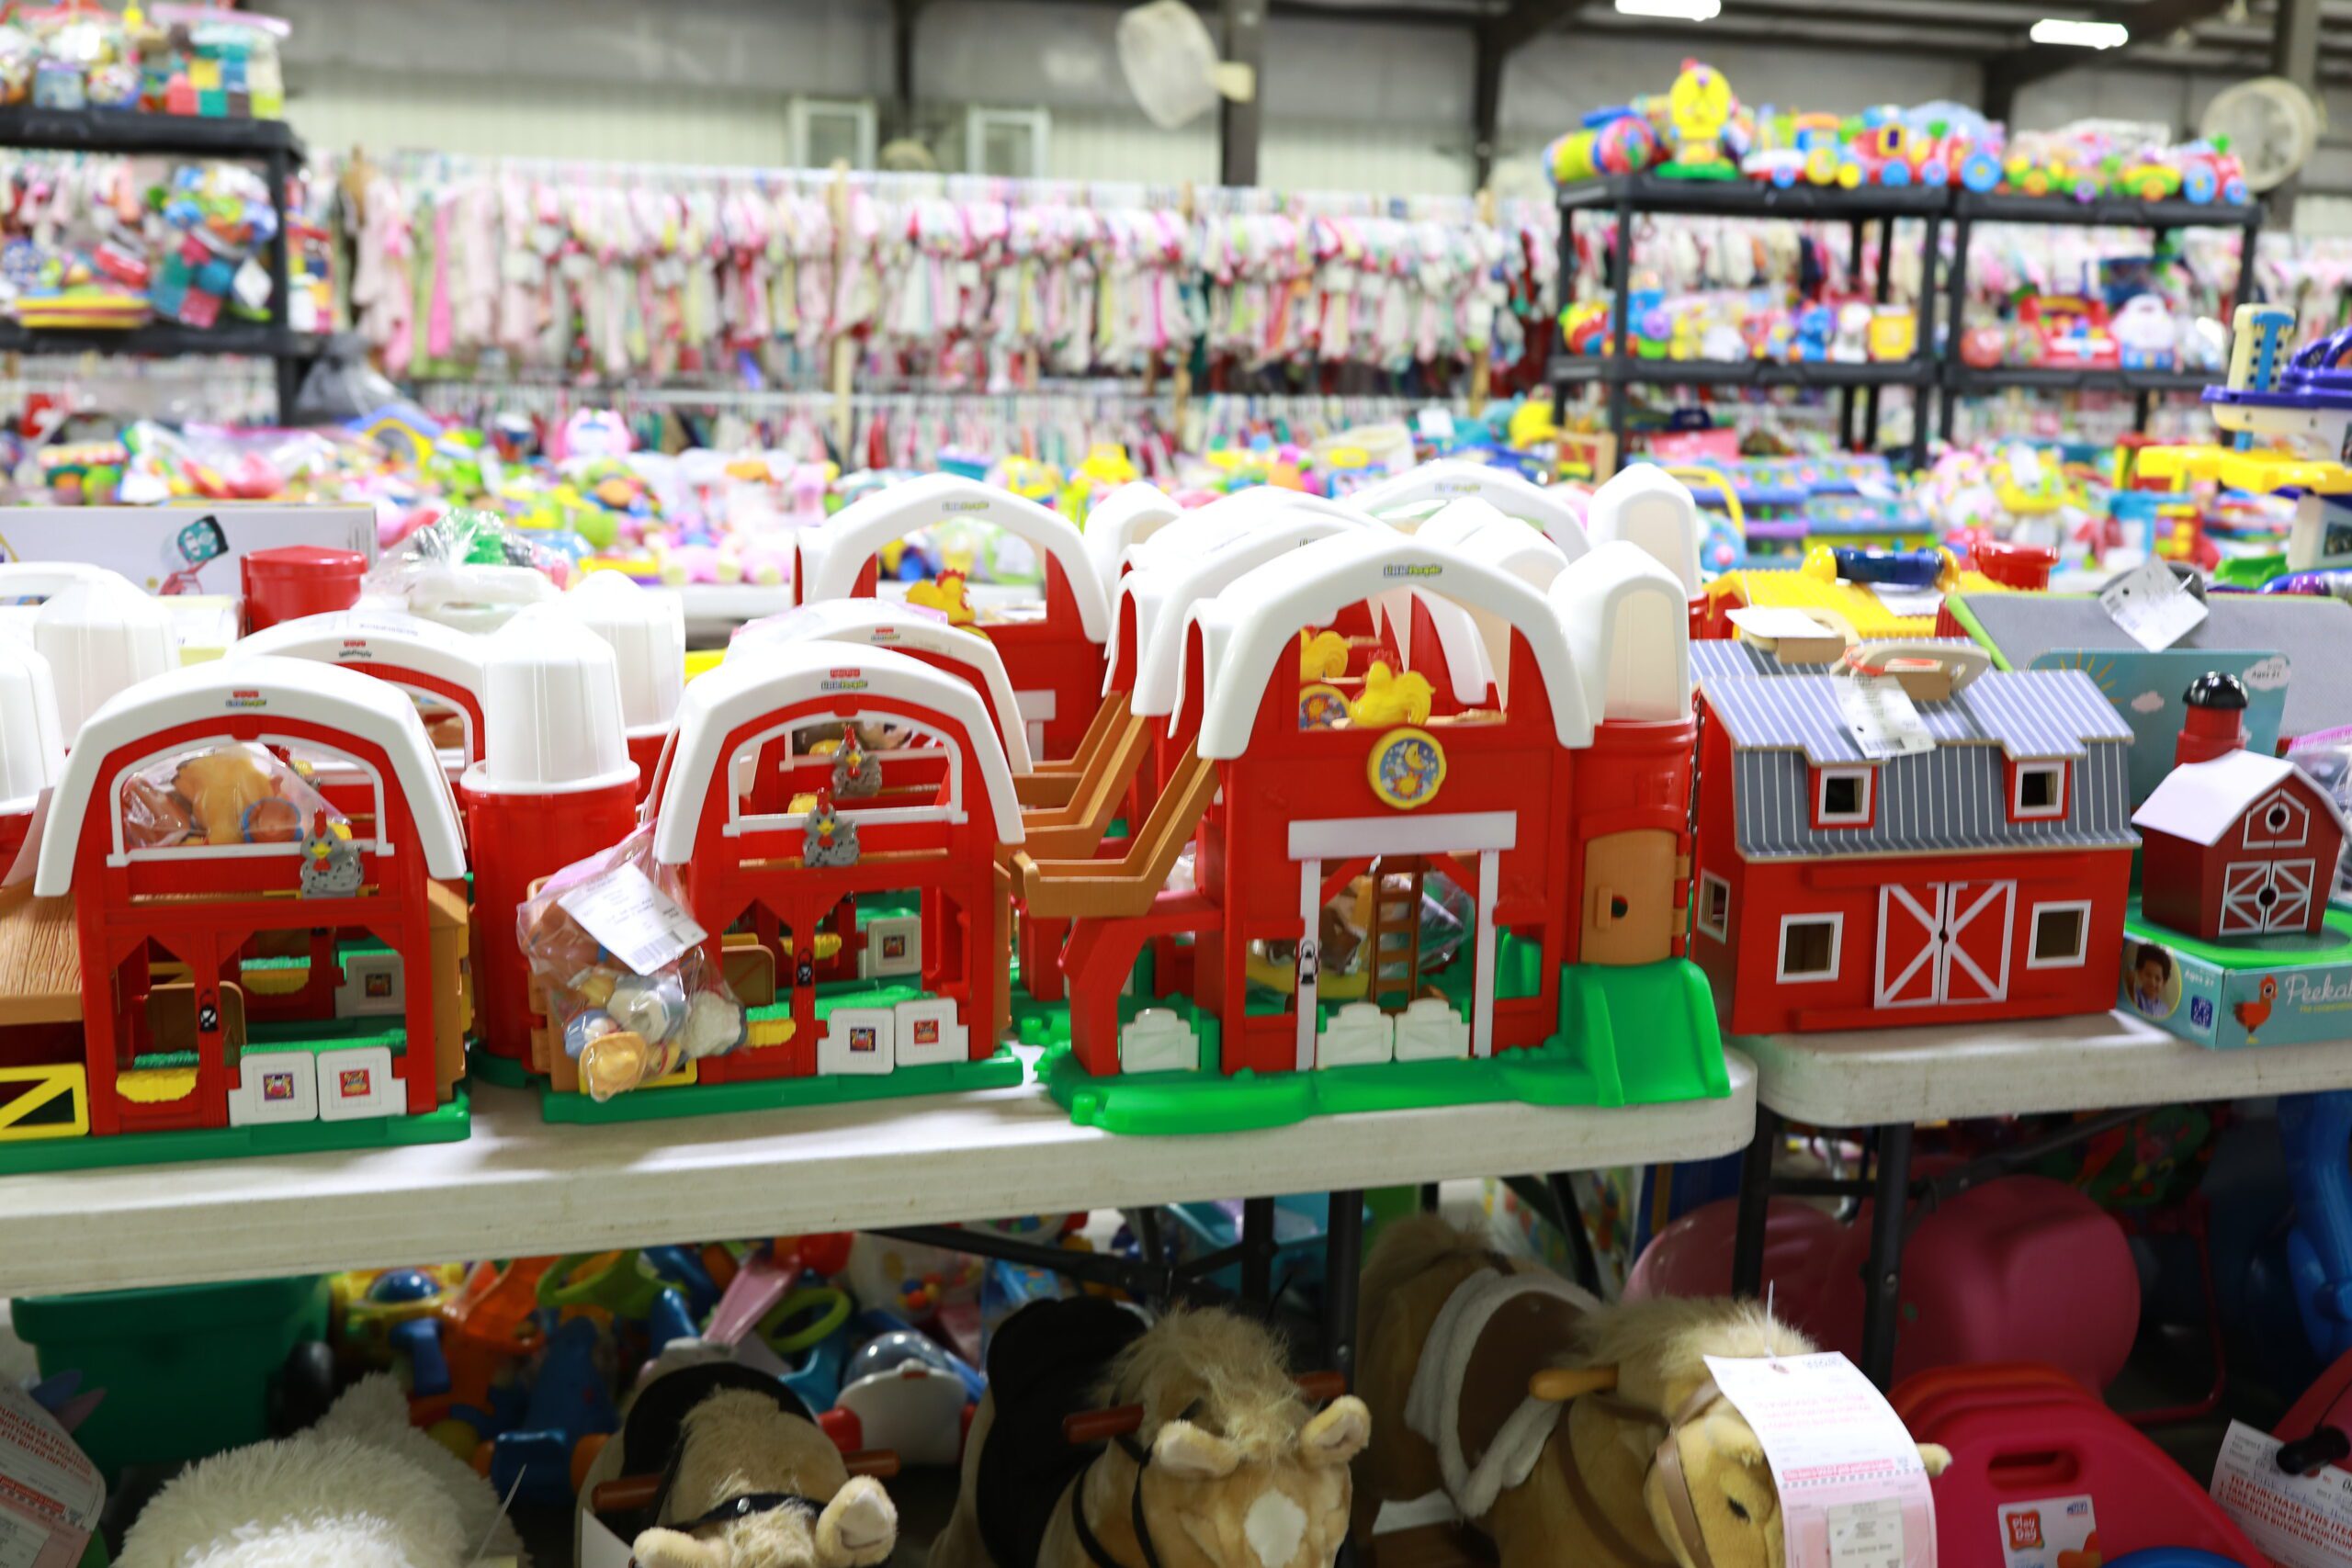
All toys should be clean and free of excessive markings, stickers, etc.
All toys MUST be in proper working order. Items that require batteries should have working batteries in them at the time of your drop off appointment.
If small parts are included, place them in a sealed Ziploc bag and attach the tag with tape or zip-ties.
LARGE TOYS and OUTDOOR EQUIPMENT:
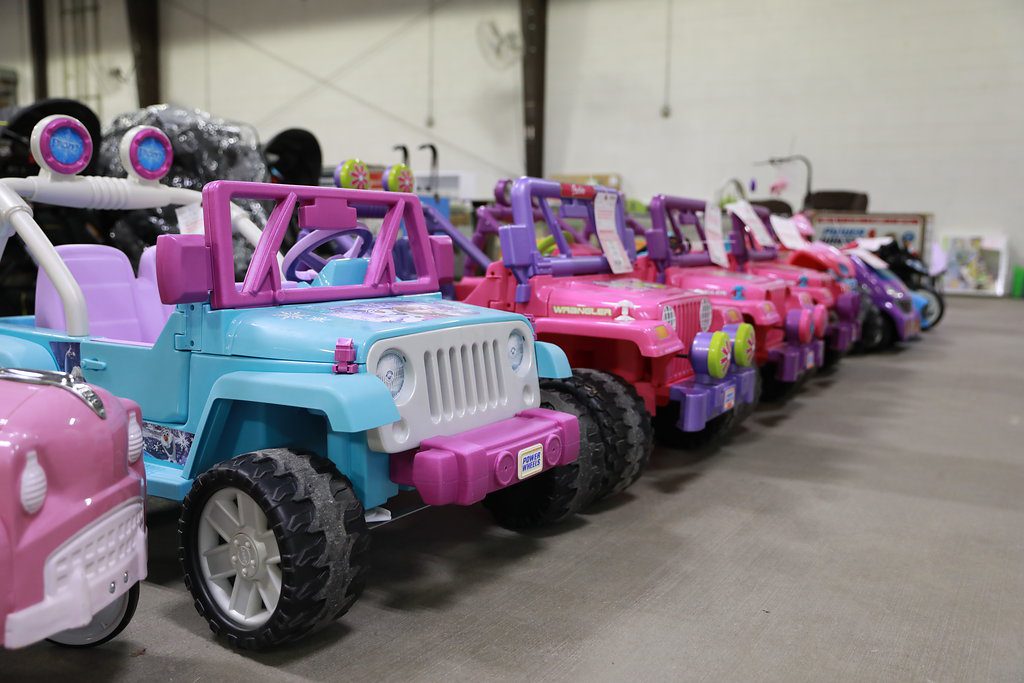
These are VERY POPULAR items and typically have nearly a 100% sell through rate!
Please make sure these are clean and include all parts. Extra pieces and/or accessories should be placed in a Ziploc bag and attached with a zip-tie. If batteries are needed, they must be included at the time of your drop off appointment. If batteries need to be charged, we will only accept the item if it is charged and able to be tested. If tape is needed, ONLY painters tape should be used to prevent damage to items.
Slight sun fading or general wear and tear is acceptable for large and outdoor equipment.
Large Item Claim Tags will be attached at the time of drop off for items that are too large or too heavy to carry while shopping.
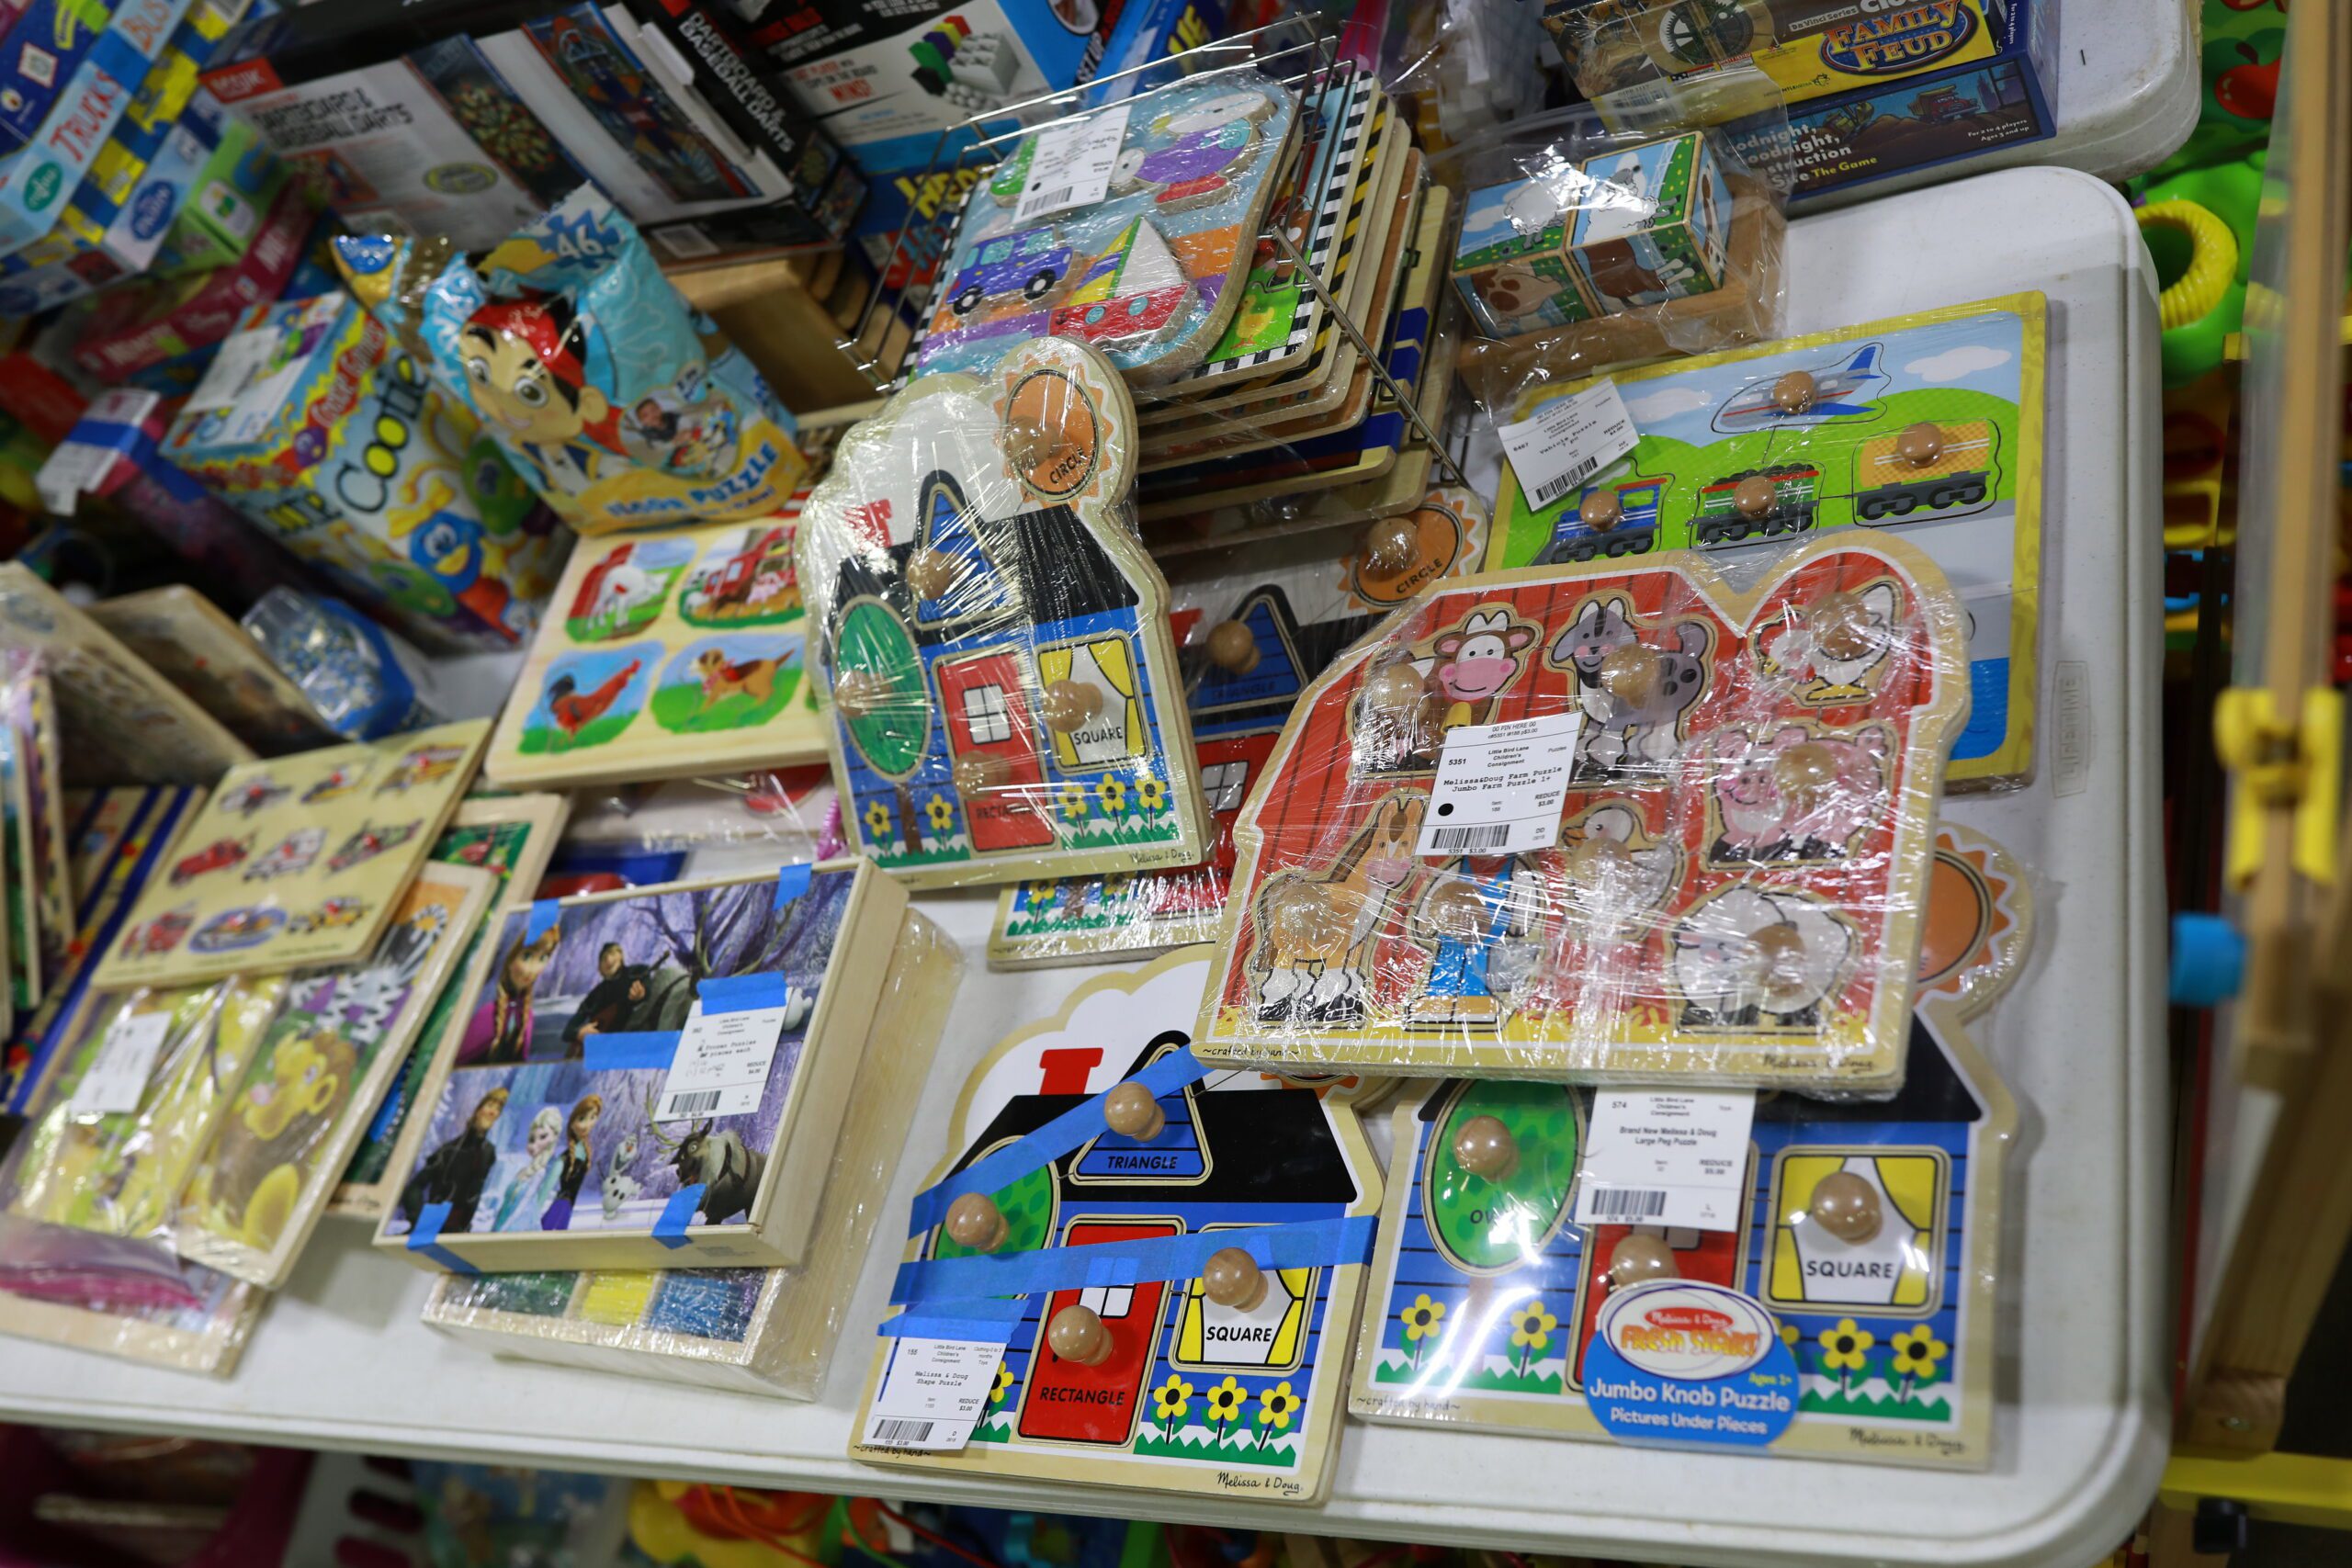
PUZZLES and GAMES:
Must contain all pieces.
Use plastic wrap to secure loose puzzle pieces and ensure that no pieces go missing during the shopping process.
Use painter’s tape to secure tops/lids to games, but please be sure the game is accessible for the inspection team at drop off.
NEVER use packing or duct tape on books or puzzles, as it will damage the item and make it unacceptable at the sale.
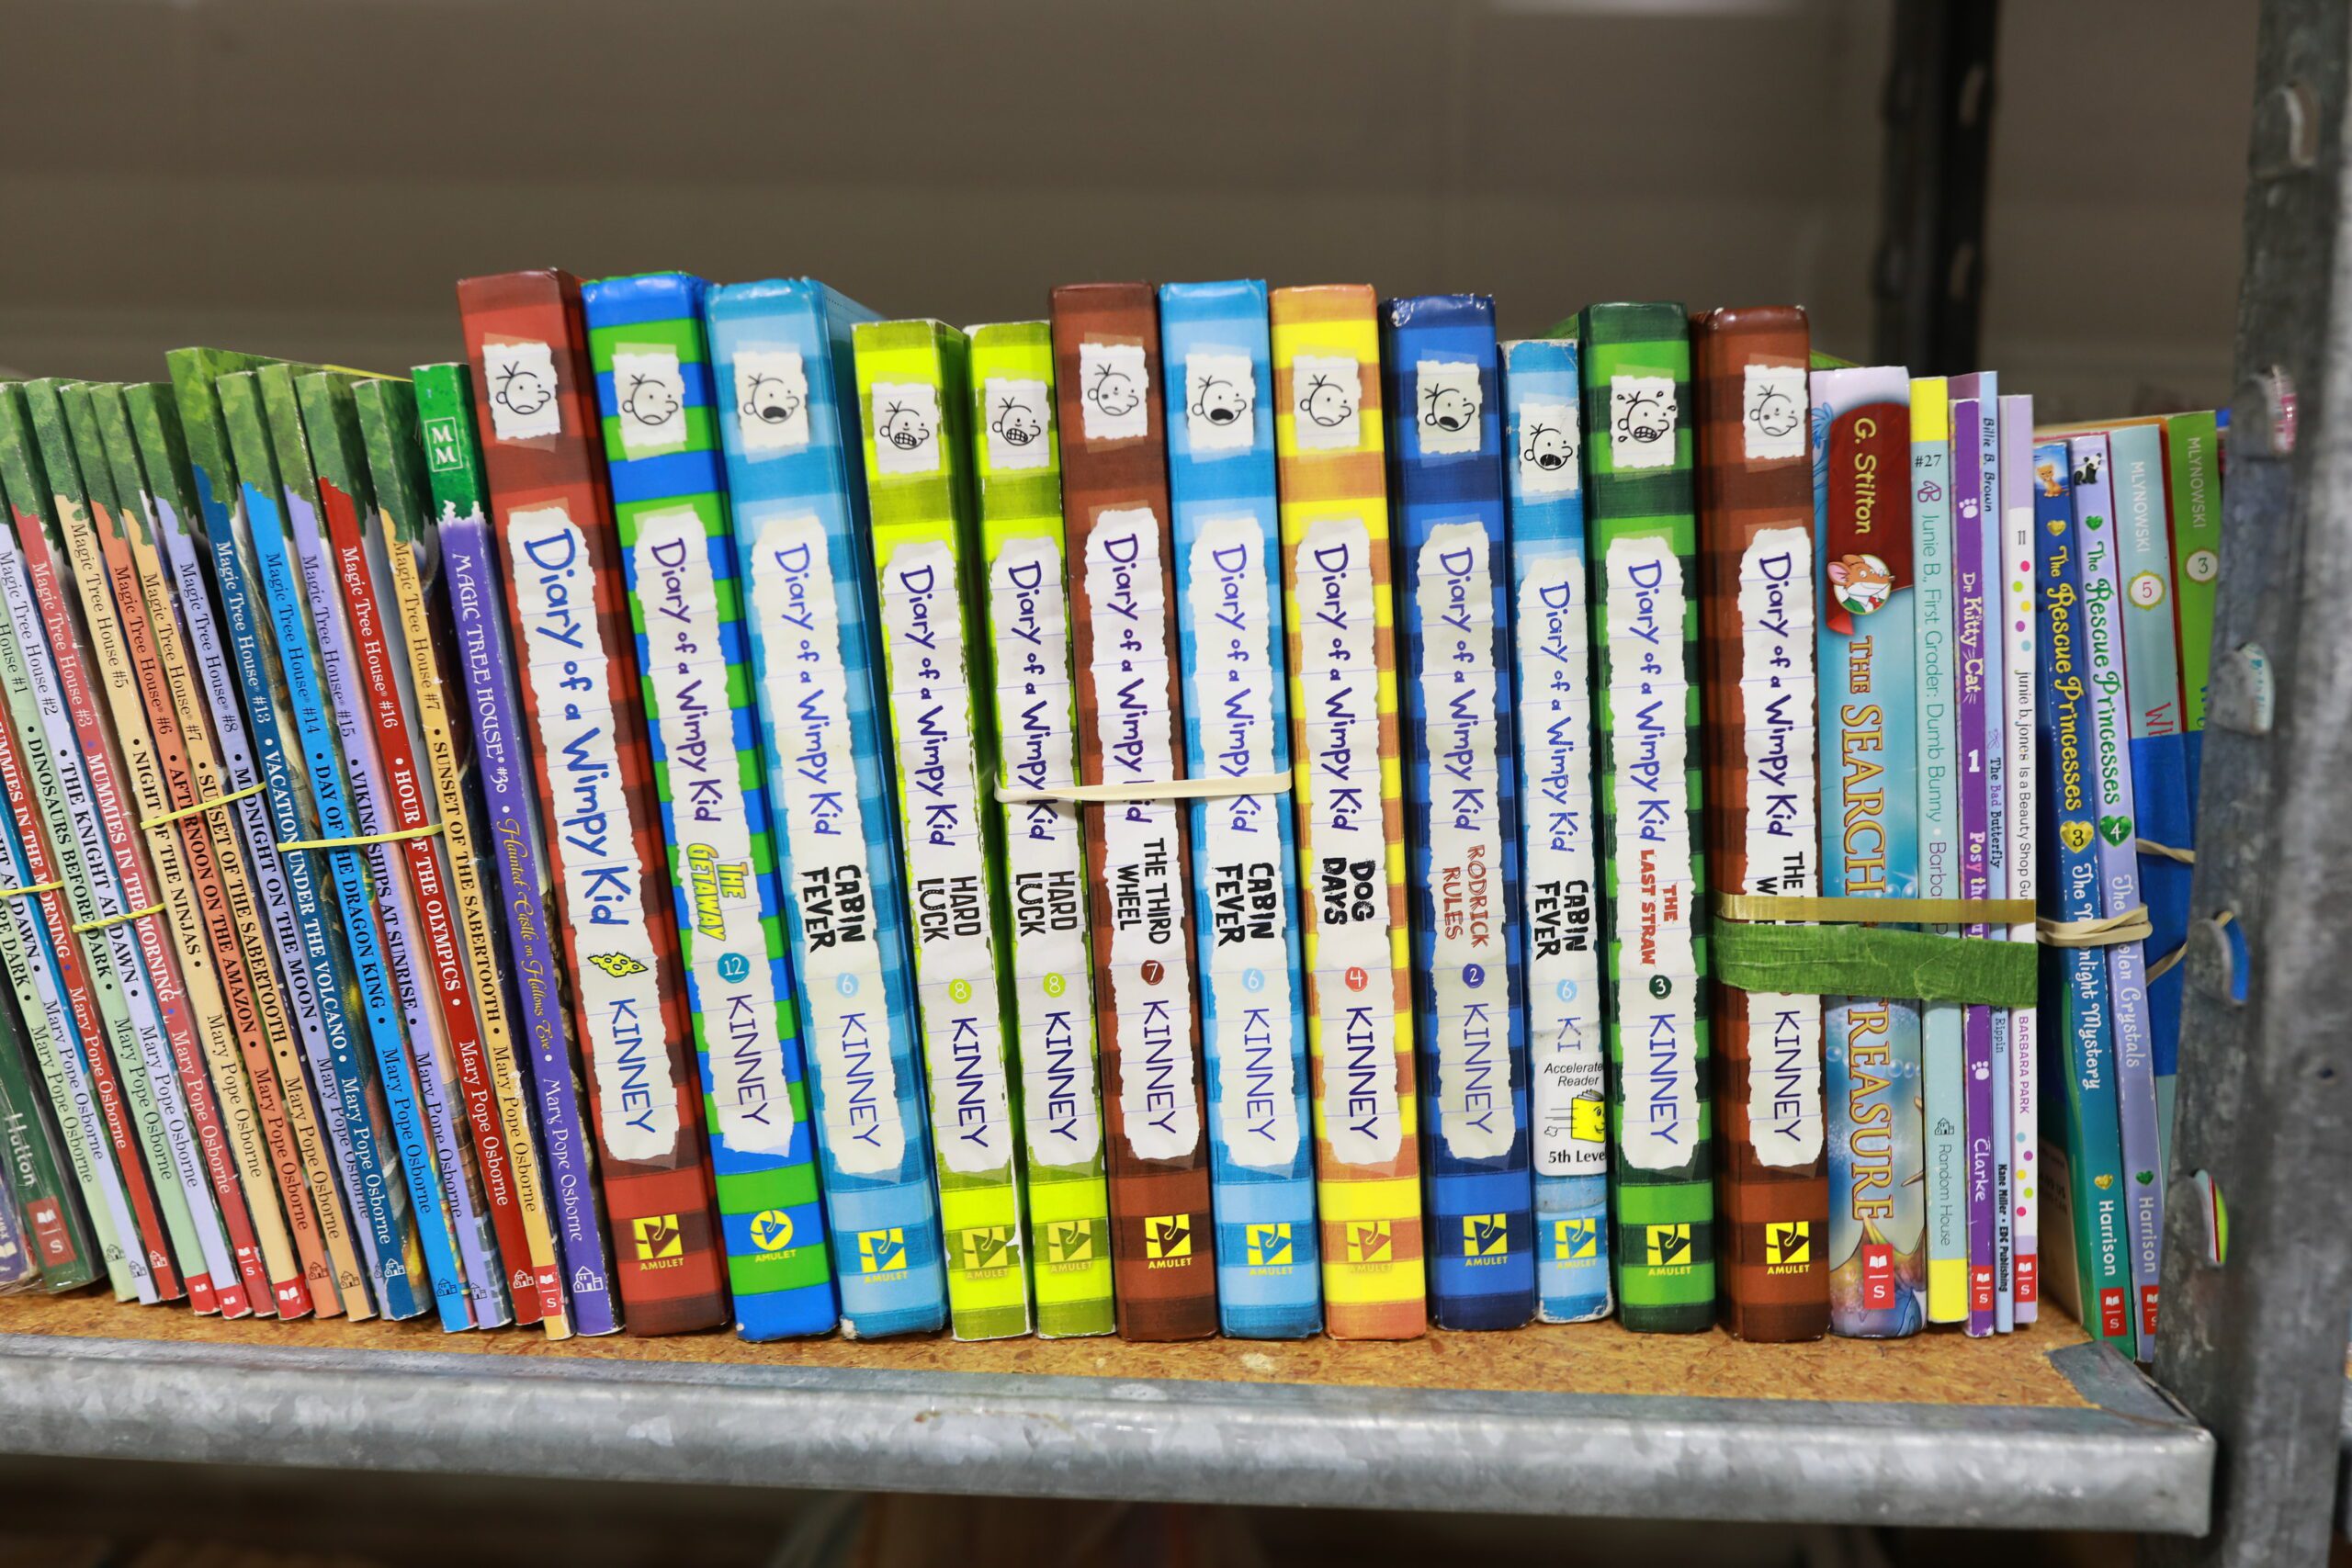
BOOKS, DVDs, & Video Games:
Tape the tag to the back inside cover of books. Use painters tape to avoid ripping or tearing. NEVER use packing tape on books, as it will rip the pages/covers and will cause items not to be accepted.
If bundling multiple books as one inventory item, use rubber bands or painters tape (NO OTHER FORM OF TAPE) to secure the books together and apply the tag to the front or back of the bundle.
DVDs and video games should be in the appropriate holder and will need to be free of scratches.
There is a MAX of 100 books per consignor and 10 DVDs per consignor. CDs and VHS tapes are not accepted.
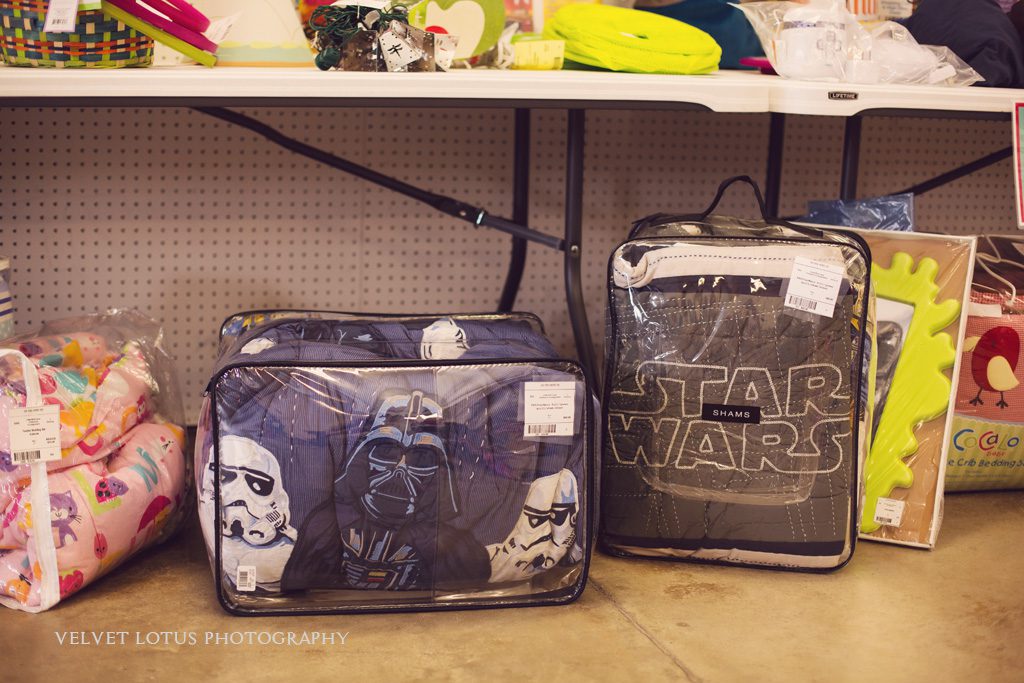
BEDDING and BLANKETS:
Blankets must be freshly laundered and free of stains and wear.
We allow a MAX of 5 bedding items (sheet sets/comforters/quilts, etc.) and 5 blankets. These are not a high sell through item, so they should be extremely high quality, name brand, and sought after styles, characters, or brands. Sets should be placed on large, sturdy hangers or in their original packaging or extra large Ziploc bags.
Grouping sets together will increase their chances of selling. They should be hung on a hanger and secured with a safety pin.
Please note that bedding should be priced very competitively, and should be name brand and in excellent condition. Bedding, in general, does not have a high sell-through rate, so you should price it low and be sure to discount it for the 1/2 price day. For this reason, we are very selective about the bedding we allow into the sale.
FURNITURE and BABY GEAR:
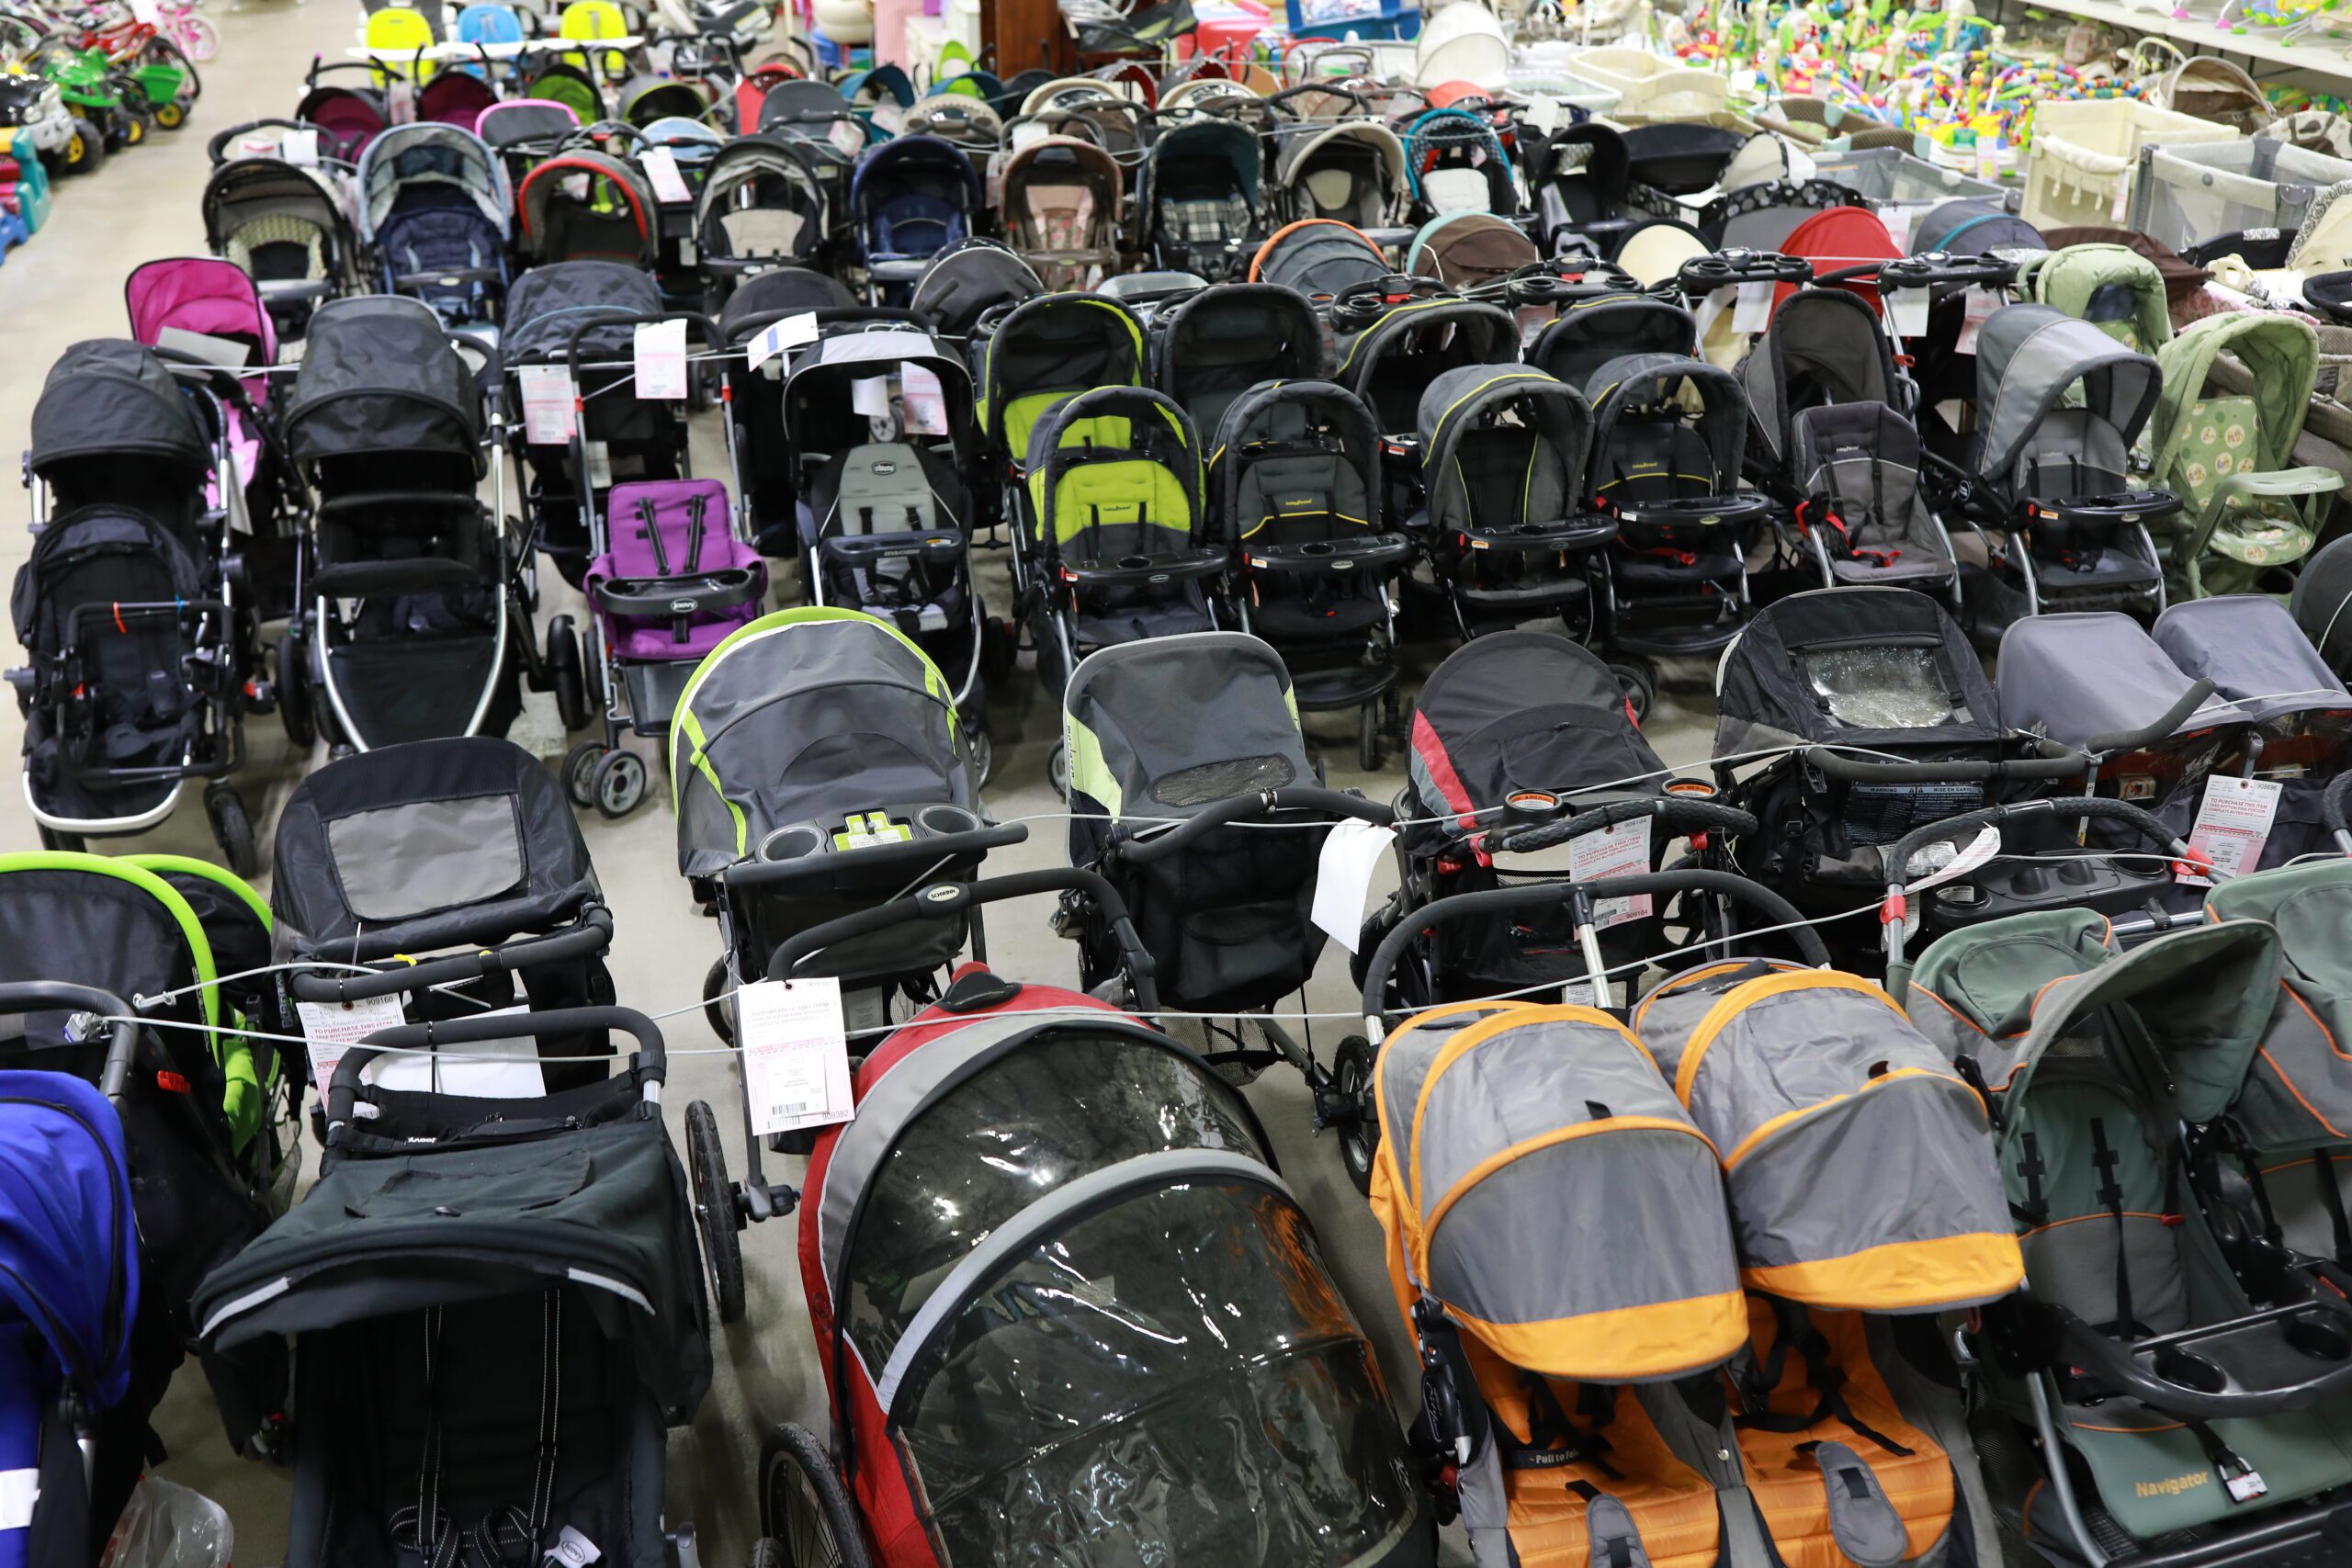
Must be in excellent condition and should be free of staining, fading, and excessive wear.
These items MUST be in compliance with all safety guidelines and must not be recalled. Click HERE to check for recalled items.
All baby gear and furniture must be fully assembled at the time of drop off. Items must also include batteries where applicable, and items will be tested for proper function at your drop-off appointment.
Small parts/pieces should be bagged and attached to the item with zip-ties. If you have it, we suggest including the item manual.
Baby Carriers and Slings should be placed on hangers (in the question mark form).
Large Item Claim Tags will be attached at the time of drop off for items that are too large or too heavy to carry while shopping.
UNSOLD ITEMS:
Any unsold items left after the designated pick up time will be donated to one of our local charity partners.
